Editing Vector Geometry
At a glance
- The editing controls under the “Map” tab make it possible to modify existing geometries on the map.
- Annotations can be reshaped, rotated, resized, dragged, and deleted.
- Activate the different editing modes by selecting the corresponding radio buttons.
- When you’re done editing, switch back to the “Navigate” mode to avoid accidentally editing other shapes.
- Use the “Clear all Geometry” button to delete all of the geometries for the record.
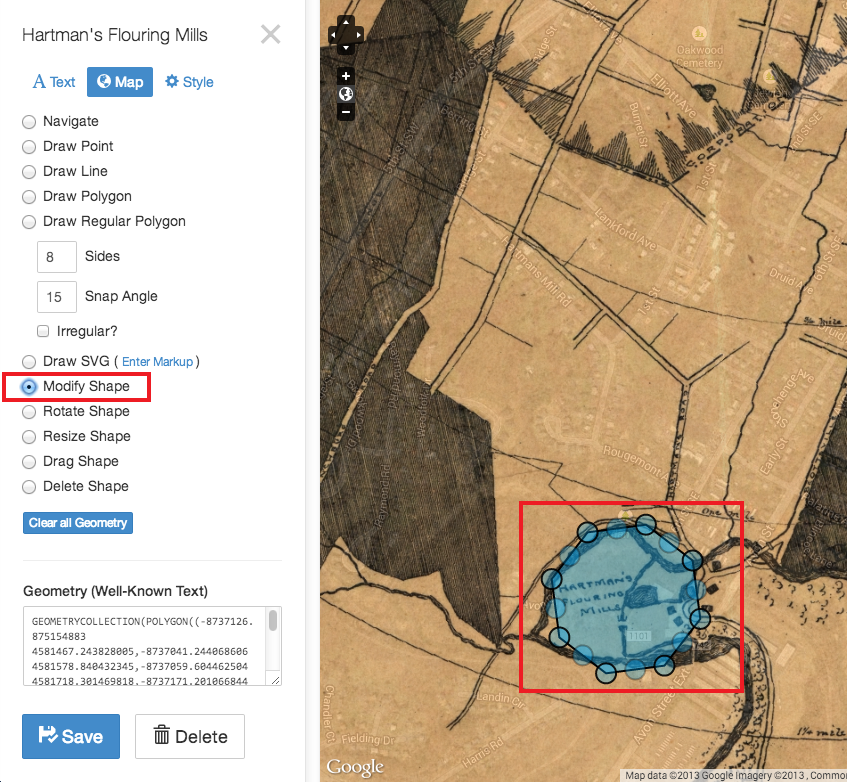
Modify Shape
Use this mode to change the shape of lines or polygons created with any of the drawing modes. It can also be used to change the position of stand-alone points.
-
Select the “Modify Shape” radio button and click on the shape that you want to modify. Once the shape is selected, you should see a set of circular drag handles appear on top of each of the vertices in the shape.
-
To change the position of an existing vertex, just click down on the point’s drag handle, move the cursor to a different location, and release the mouse button to lock in the new location.
-
To add new vertices to the shape, click and drag on any of the translucent points that are displayed in the middle of each of the sides of the shape. This has the effect of bisecting the vertex - as soon as you release the mouse button, the drag handle will be converted into a regular point, and you can then continue to progressively add detail to the shape by re-bisecting the new edges.
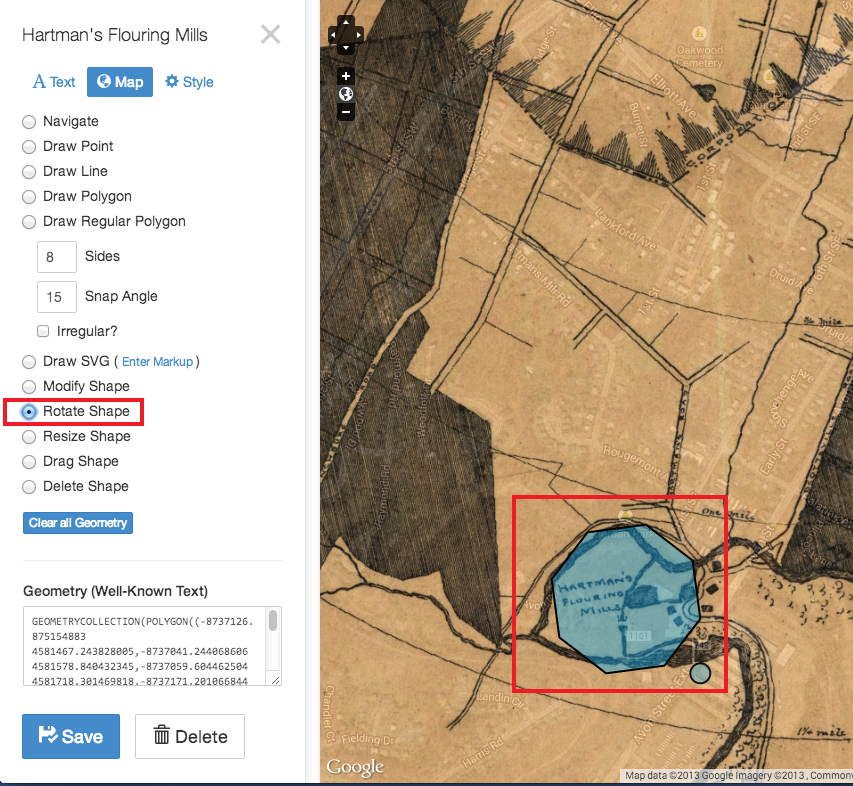
Rotate Shape
Rotate an existing line or polygon.
-
Select the “Rotate Shape” radio button and click on the shape that you want to resize. Once the shape is selected, you should see a new “control point” appear to the bottom right of the shape.
-
Click and drag on the control point to rotate the shape.
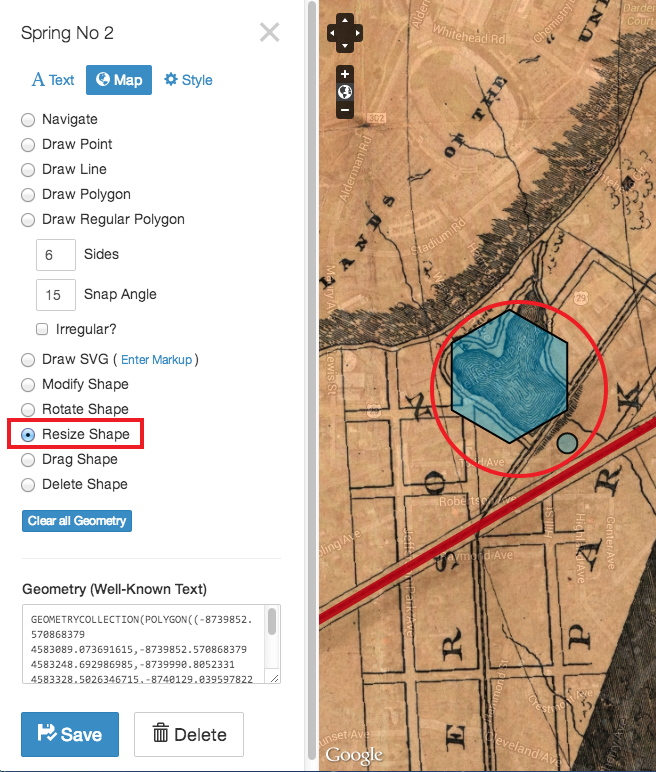
Resize Shape
Expand or shrink an existing line or polygon.
-
Select the “Resize Shape” radio button and click on the shape that you want to resize. Once the shape is selected, you should see a new “control point” appear to the bottom right of the shape.
-
Click and drag on the control point to scale the shape.
Tip: If you want to change the size of the circle used to represent an individual point, head over to the “Style” tab and change the “Point Radius” option.
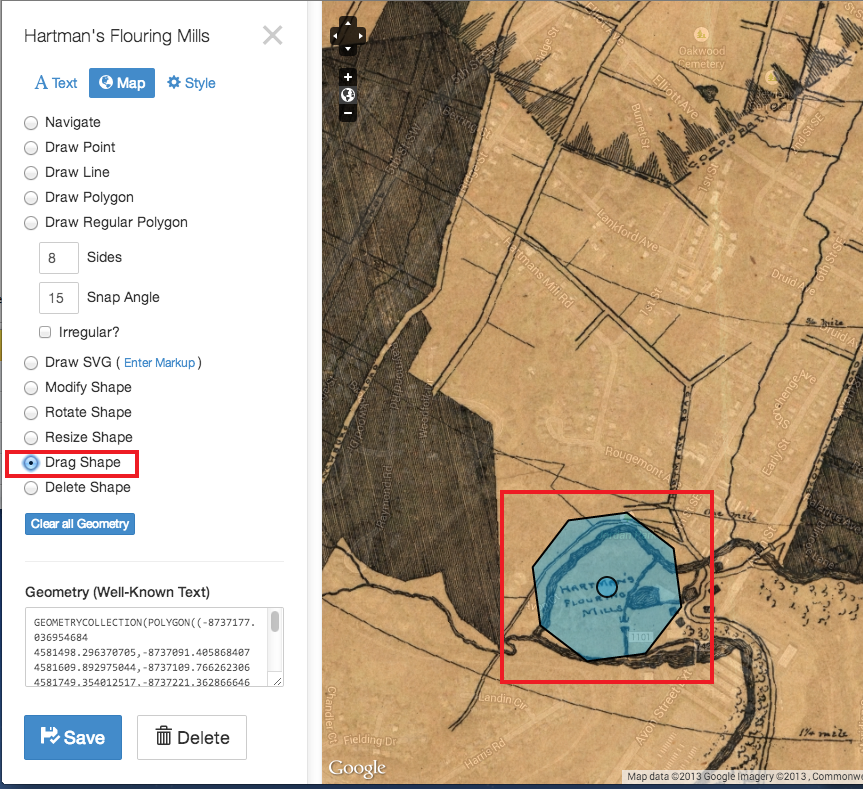
Drag Shape
Change the location of an existing point, line, or polygon.
-
Select the “Drag Shape” radio button and click on the shape that you want to drag. You should see a new “control point” appear right in the middle of the shape. If you’re dragging an individual point, the point will just change color to indicate that it has been highlighted.
-
Click and drag on the control point to change the center position of the shape.
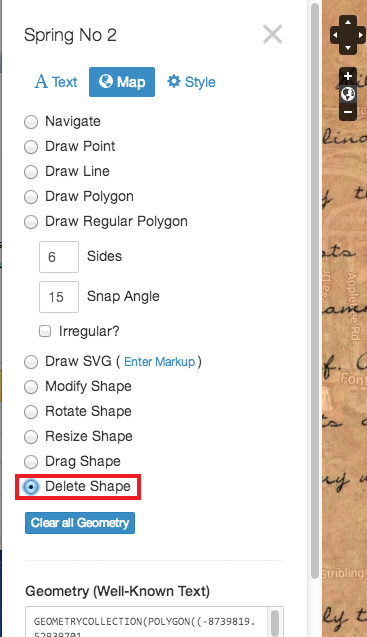
Delete Shape
Delete an existing point, line, or polygon.
-
Select the “Delete Shape” radio button.
-
To delete a shape, just click once on the shape, and it will immediately be removed from the map.
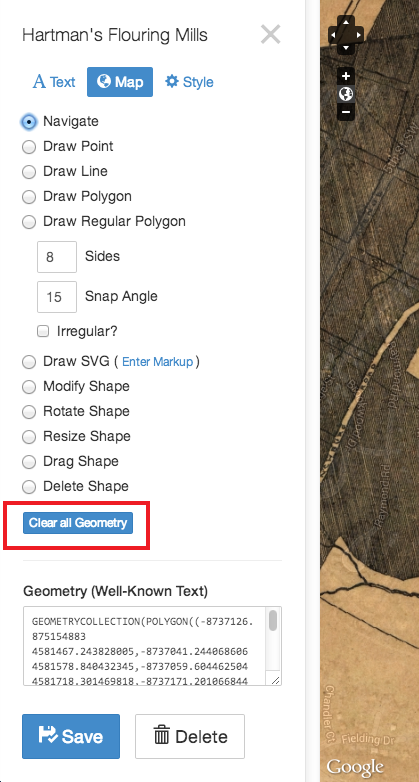
Clear all Geometry
This button is similar to “Delete Shape,” but it deletes all vector annotations for the record. This can be useful when you’ve made a mistake of some sort (for example, when experimenting with different ways of positioning an imported SVG document) and want to just completely clear out your work.