Neatline Editor: Styles Tab
At a glance
- Click the Styles tab in the editor to edit higher-level settings for your exhibit.
- These fields define over-all view settings for your exhibit.
- You can return to these settings at any time to make changes.
- Jump to:
Styles Tab
Stylesheet Overview

The Neatline Stylesheet is a code editor that uses a simplified, Neatline-inflected dialect of CSS to perform bulk updates on large groups of related records clustered together by tags (see Editing Record Groups). Instead of manually changing individual records, one by one, the stylesheet allows for updates to made automatically to grouped records. Neatline CSS treats record tags as “classes”, which allows for the use of a set of style properties to be defined in the stylesheet.
For example, if you have a set of records tagged with the year 2012, and want to make changes to their fill color, include the following in the stylesheet:
.2012 {
fill-color: #08c;
}
Instead of regular CSS rules, the Neatline stylesheet uses a specific set of rules that directly relate to the fields in the Record Style Tab, listed here:
widgetspresenterfill-colorfill-color-selectstroke-colorstroke-color-selectfill-opacityfill-opacity-selectstroke-opacitystroke-opacity-selectstroke-widthpoint-radiuszindexweightstart-dateend-dateafter-datebefore-datepoint-imagewms-addresswms-layersmin-zoommax-zoommap-focusmap-zoom
For a more detailed information, see Using Neatline Stylesheets.
Default Map Focus and Default Map Zoom
The Default Map Focus and the Default Map Zoom are the settings that determine the initial view of your exhibit, that is, the view seen when first opening the exhibit (in both the editor and in the Public View).
A simple way to use this setting is to move the map to the exact location and zoom level, using your mouse to drag and zoom, or by using the navigation icons in the left-top corner of the map. Once you find your view, click “Use Current Viewport as Default” and the data will auto-fill. Click the blue “Save” button at the bottom of the panel to save the settings.

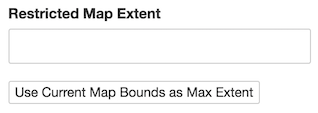
Restricted Map Extent
This setting controls how far your map or image extends, effectively restricting a viewer’s ability to change the exhibit’s focus. Restricted Map Extent does not control zoom levels (a viewer can still zoom in and out as far as allowed). This setting can be particularly useful if your exhibit has a specifc geographic setting, and you’d like to keep viewers within a region, and keep from getting lost elsewhere on the world map.
Like the Default Map Focus and Default Map Zoom, this setting can be auto-filled by clicking “Use Current Map Bounds as Max Extent,” creating set boundaries for your exhibit. Click the blue “Save” button at the bottom of the panel to save the setting.
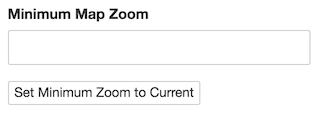
Minimum Map Zoom
This setting controls how far you can “zoom out” in your exhibit. Like the Restricted Map Extent, this setting is useful for creating boundaries for your exhibit, and can make the viewer’s experience better by limiting where they can move the map, effectively keeping the focus on the setting of your exhibit.
Adjust your map to the furthest zoom level you want a viewer to experience, and click “Set Minimum Zoom to Current” to set. Click the blue “Save” button at the bottom of the panel to save the setting.
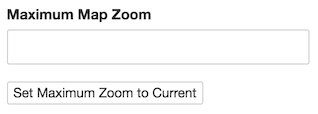
Maximum Map Zoom
Similar to Minimum Map Zoom, this setting controls how far a viewer can “zoom in” on your exhibit. To set, adjust your map to the closest, “zoomed-in” view you want a viewer to experience, and click “Set Maximum Zoom to Current.” Click the blue “Save” button at the bottom of the panel to save the setting.
Related: Editor Overview, Using Neatline Stylesheets, Editing Record Groups, Editing Record Visibility